Feel Free To Search.....

Google
 

Wellcum!!!

Wellcum To All My Dear Readers! If this site is too boring then poke into ' My Other 'Unrated' site' Where u can find all my 'juicy' & educational' pokeing posts! Not suitable for kids & 'innocence' ladies! He! He! If u find no new pst in this site it meant I am busy posting on 'My Other 'Unrated' site' !
Showing posts with label DIY. Show all posts

Monday, February 9, 2009

Pajero V46 2800 InterCooler Turbo Air-Con

My Pajero is giving me trouble. It is her air-con! It is suppose to blow out cool air but instead it blow out hot air ( the heater is not on, if fact it is not even connected ). I happen to be rather cold resistant ( since I am a big guy, beside if it get too cold I can always wear more cloths ) but I can’t stand the heat ( I am totally in-active when I get heated up. I have being on ‘heat’ lately whenever I drive my Pajero to work ). Not much choice really as it has being raining lately & part of the road is floated & so my Pajero is the only safe option as it is stand up to two feet of water!

Normally a car air-con is not cool if :-

1.the air-con gas is gone or not enough ( due to gas leakages, depend on where the leakage is the problem can be fixed inexpensively )

2.the air-con cooling fin is dirty ( so it is no longer efficient, just took out the cooling fins & clean it, not expensive but time consuming )

3.the air-con compressor is faulty ( have to buy a new compressor very expensive, in fact the most expensive component of a car air-con system )

4.the air-con control unit is faulty ( rather expensive, problem is finding parts or circuits but it is very rare to have this problem )

5.the air-con heat radiator ( located in front of the Pajero cooling radiator in the engine bay ) is blocked ( with dirt or cracked hence gas leakage, expensive as a Pagero has two air-con heat radiators one big & one small )

6.the air-con heat radiator’s fan is not working ( not too expensive a Pajero has two air-con radiator fans one big & one small, but it is time consuming to change them ) .

As the most common problem is dirty air-con cooling fins I agree to have it cleaned. A lot of work in taking apart the air-con cooling fins as my Pajero has dual air-con.

The Pajero front air-con is located just behind the glove compartment. The white box thing.
While the hind air-con is located inside the right ( driver side ) back panel.
The front air-con cooling fins inside the white air-con box. See it is very dirty with death insect stuck inside.
The hind air-con cooling fins, also very dirty, not death insect is found but got hairs ( I wander how the hairs got suck into there? ).

It is discovered that the front air-con cooling fin is leaking gas ( the second most expensive component of a car air-con system ) & because the leak is inside the cooling fin it can’t be sealed by aluminum welding. So no choice but to buy a new cooling fin. See the new & the old. Pajero air-con cooling fins ( Denso brand ) is the ‘bee hives’ type double layers with dense cooling fins. Dam expensive, cost me RM450-00 ( half of my salary gone ). And to keep the cooling fins clean & prevent insect from getting in I seal up the air-con outside air intake ( it is always advisable to close the outside air intake as insect will always end up in the cooling fin including dust & dirt ). With the new cooling fin installed the Pajero air-con's performance is now very cooling.
Inside temp is at 34C ( late afternoon, see I go to work inside an oven, arrive at office with my ‘ball’ half-cooked! How to drive & work like this ) before air-con is switch on.
Inside temp at 25C after half hour with air-con on at full blast! The temp will drop to 21C in two hours, at night it will drop to 19C! Very good performance! Money well spend ( but I have to forgo a few other ‘activities’ )!

To me a car air-con is very important part of a car. To me a car is worthless if its air-con is not functioning or not cool enough ( like a Kanari or Kancil both very nice car apart from it lousy air-con system ).

So to my dear readers, do u place a good car air-con highly when u buy a car?

Friday, January 23, 2009

DIY Panasonic Blu Ray BD30 Firmware Update

Main Contents begins from here.


Support

DMP-BD30 Firmware Download (Oceania/Thai, S.E.Asia)

Update Information

Model Number DMP-BD30GN/GCS
Update Version Ver 2.1
Update File Name / Size
  • Oceania/Thai, S.E.Asia
    UPDATE_BD30G_V21.exe / 24,310,931 bytes
Update Date 2008/12/15

Improvements
Date/Version Description
2008/12/15
Ver 2.1
  1. BD-V Playability
2008/10/1
Ver 2.0
  1. Playability and Stability
2008/7/14
Ver 1.7
  1. Playability and Stability
2008/5/8
Ver 1.3
  1. Playability and Stability
2008/4/16
Ver 1.2
  1. Playability and Stability

Update Procedures (Overview)

Perform steps 1 through 6 listed below.

  • Step 1 Check the firmware version currently installed in your BD player.
  • Step 2 Check the latest firmware version available for your BD player.
  • Step 3 Download the latest firmware.
  • Step 4 Decompress the downloaded file.
  • Step 5 Create a firmware update disc.
  • Step 6 Install the firmware update.

Step 1. Check the firmware version currently installed in your BD player

Follow the steps below to check the firmware version currently installed in your Panasonic BD player.

    Steps
  1. Turn on the main unit.
  2. Press the [SETUP] button on the remote control to open the display menu screen.
  3. Using the Up and Down cursor buttons on the remote control, select the "DISPLAY" tab - "DISPLAY" items will appear.
  4. Press and hold the [STATUS] button on the remote control. While doing so, the current firmware version for your player will be displayed in the lower right hand corner of the screen (e.g. "1.0" in my set it shown 1.2) .

    Please make note of this version number.


Step 2. Checking the latest firmware version available for your BD player

Confirm the latest firmware version that is available for "the Model Number of your BD player" by referencing the "Update Information" section provided above (near the top of this page).

Please compare this firmware version number to the version number of the firmware currently installed in your Panasonic BD player (the firmware currently installed in your Panasonic BD player was checked in "Step 1").

  • If the version of the firmware installed on your Panasonic BD player and the latest firmware version available are the same
    >>No update is necessary.
  • If the version of the firmware installed on your Panasonic BD player is lower than the latest version available
    >>Updating is recommended - Please continue to step 3

Note:

The firmware for your Panasonic BD player may not need to be updated even though a firmware update has been released - for example.

  • If your Panasonic BD player was manufactured after the firmware was released and the firmware update has already been installed.
  • If your Panasonic BD player was serviced by an authorized Panasonic service technician the player was updated with the latest firmware.
Before u can go to the following steps u need to agree to the 'agreement'.

Main Contents begins from here.


Support

DMP-BD30 Firmware Download (Oceania/Thai, S.E.Asia)

Step 4. Firmware decompression

Check the file size of the downloaded file and decompress it. Supported for Windows only.

  1. Checking the file size.
    Right click on the downloaded firmware, "UPDATE_BD30G_V21.exe" and select "Properties". Make sure that the size of the file is the same as the size listed on the download page.

    If the file size differs, please download it again. After checking the size, click [OK] and the "Properties" window will close.

  2. Decompressing the file
    Double click the downloaded firmware "UPDATE_BD30G_V21.exe" and decompress it.
    The decompressed file will be named "PANA_DVD.FRM".

File size is 24,310,931 bytes. (UPDATE_BD30G_V21.exe)

Note:
You will not be able to install firmware designated for a region that is different to the region in which you purchased your Panasonic BD player.


Step 5. Create a firmware update disc

To create a firmware update disc, write the decompressed file to a CD-R disc using CD-R writing software. Follow the operating instructions for the writing software to create the disc. Once the firmware update disc is created, continue to the next step.

1.About the CD-R disc:
If the firmware update disc has write errors, it will not be readable by the Panasonic BD player and you will not be able to update the firmware.

Always use a blank CD-R disc. Do not use a CD-RW disc.

2.About the CD-R writing software:
If you are creating the firmware update disc on a Microsoft Windows PC, we recommend using the standard Windows XP writing application.

Other writing software can be used, but please follow the operating instructions provided for the writing software. Please be aware that "packet-writing" is not supported ( in my case I use Nero data writting, worked perfectly the first time. Do remember to 'unzip' the download file so that it become PANA_DVD.FRM, this is the data u need to burn onto a new blank CD disk) .

Step 6. Install the firmware update

[CAUTION]:

It will take about 10 minutes to update the firmware. During the firmware update procedure, do not turn the Panasonic BD player off nor disconnect AC power. Do not press any buttons,except as instructed ( in my set it took about 9 minutes ).

Failure to do so may result in the Panasonic BD player becoming unresponsive which will require repair.


[Step-1]

Turn your Panasonic BD player on.

[Step-2]

Press [OPEN/CLOSE] on the Panasonic BD Player to open the disc tray. Load the firmware update disc and press [OPEN/CLOSE] on the Panasonic BD Player to close the disc tray.
DO NOT press any other buttons during the firmware update.
The Panasonic BD Player will first display "Bye" on the front panel display, automatically turn itself off and then, within a few seconds, restart again and automatically start installing the firmware from the firmware update disc.


NOTE: If the Panasonic BD Player does not restart automatically after it has turned off, please press [POWER] on the Panasonic BD Player - the Panasonic BD Player will then restart and install the firmware update as normal.


[Step-3]

The time to complete the firmware update will vary, however the time should not exceed 15 minutes. Please be patient during the firmware upgrade!

NOTE: During the update process, various messages will show on the front panel display of the Panasonic BD player.


[Step-4]

When the firmware update is completed, "FINISH" is displayed on the front panel display of the Panasonic BD player and the disc tray opens automatically.
Please take out the firmware update disc and turn off power with the power button on the main unit. The firmware update installation procedure is now complete.


Please take out the firmware update disc and turn off power with the power button on the Panasonic BD player.

[CAUTION]
  • During the firmware update procedure, do not turn the unit off, disconnect it from AC power (outlet) and press any buttons except as instructed.
    Failure to do so may result in an unresponsive unit that will require repair ( now if u have a TV set with HDMI control enable, switching off the Plasma/LCD MIGHT switch off the BD player when all this updating is on going, so it is a good idea to just left it on & don't touch any buttons when all this updating is going on! ).

[Note]:

If the firmware version currently installed in the Panasonic BD player is the same or more recent than the firmware version on the update disc, "UNSUP/PORT" will be displayed for approximately 5 seconds on the front display of the Panasonic BD player. In this case, an update is unnecessary -please remove the disc.

Display on the Panasonic BD player:

If you have any problems after installing the new firmware, please contact the Global Service Center Network.

Well after doing all the above my set now show ver 2.1. To me not much different at all in my set operation & function. Actually I do this firmware updateing as my set cannot read some DVD ( ahem ahem vision ) which is playerable on DVD player, so it seem that my BD30 is 'sensitive' to some badly recorded DVD.

To my dear readers who own a Panasonic BD30 blu ray player u can give a a try but only if u r familia & confident or else it is best to ask Panasonic do do it.

Monday, December 1, 2008

DIY Cleaning National Air-Con

Ok! Another DIY post! Well I do like to DIY whenever possible as I like to save some monies & of cause being a fussy fellow I like to get a job done to my satisfaction! This is my DIY National Air-Con, in this previous post I blog about DIY Toshiba ir-Con cleaning ( I got 4 air-con at home ). So this is how I spend my weekend, cleaning my very dirty National air-con.


As shown it is very dirty, the filter is clog with dust & even fine hair!!The cooling fins is being coated with dirt as well, no wander it is no so cool nowadays. Taking the whole casing apart only involve removing 4 screws. Two for the main cover, one to remove the lovern motor & one earthing screw. I have to remove the lovern assembly as I have to clean the blower fan's fin located inside the air-con unit as clean fan' fin is more efficient & quiet. Care must be taken when removing the lovern as it is secure by ledge. Normally air con cleaning just involve cleaning the filter & cooling fins, since I am doing the cleaning myself I might as well do a good job & give it a completed clean out.


Shown above the cleaned air-con part & cooling fins. Before cleaning the cooling fin made sure that you cover up the electrical board with plastic bag. Normally I use dishes washer to clean the various part but I sometime use liquid soap as it give a nice smell after that. I clean the cooling & blower fan fins using brush & sponges & clean off using garden hose ( after cleaning the air-con the room is almost flooded hence I end-up cleaning the room as well ).

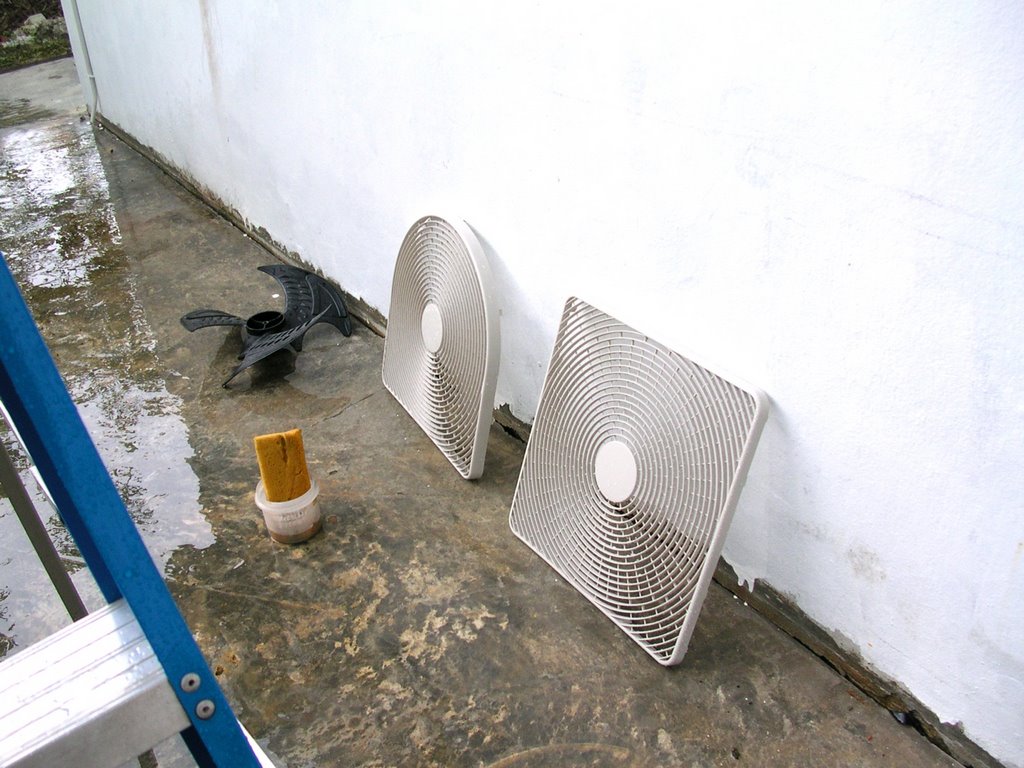
Now for outside unit. To take out the fan I have to disassembler the casing which is a weird 2 blade design, so I might take apart its casing total number of screws is 14 plus one nut for the fan propeller. Now cleaning the cooling fins is easier using brush, dish washer & spraying it clean using garden hose. Care must be taken when taking apart the casing to avoid cut.

I have made a pervious entry on cleaning air-con, but on that occassion I am clean Toshiba air-con. It is much easier to clean Toshiba then National air-con. in term of usage I perfer Toshiba air-con to National now known as Panasonic. The whole process of cleaning air-con took me half a day.

Friday, October 31, 2008

DIY Cleaning Toshiba Air-Con

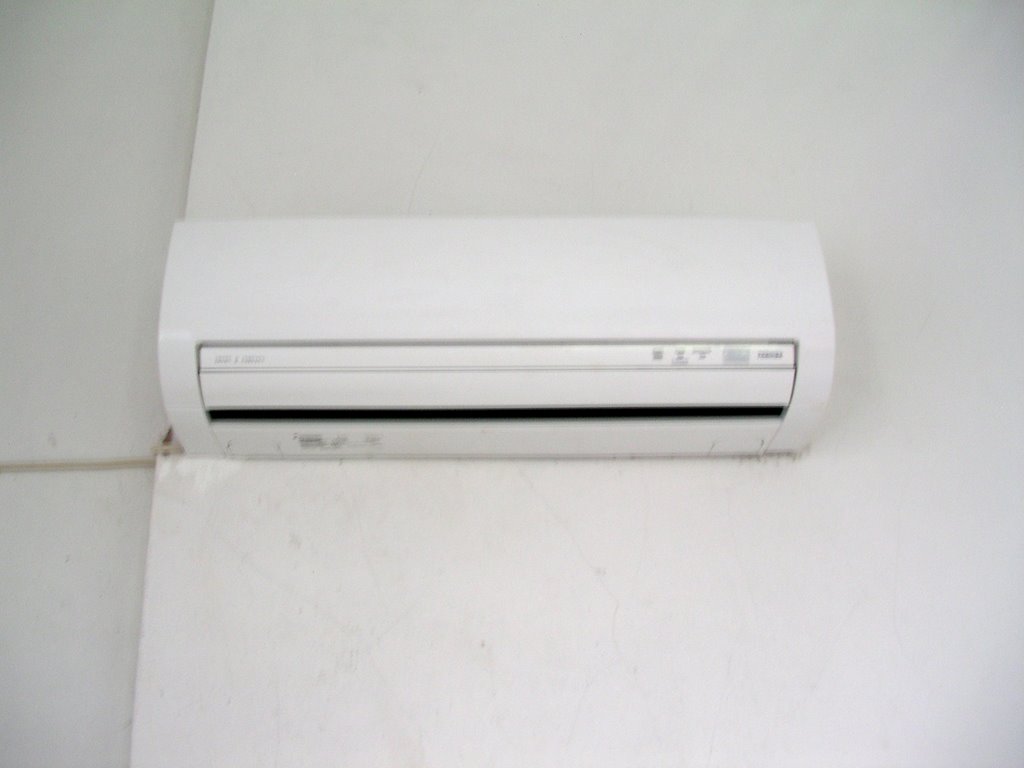
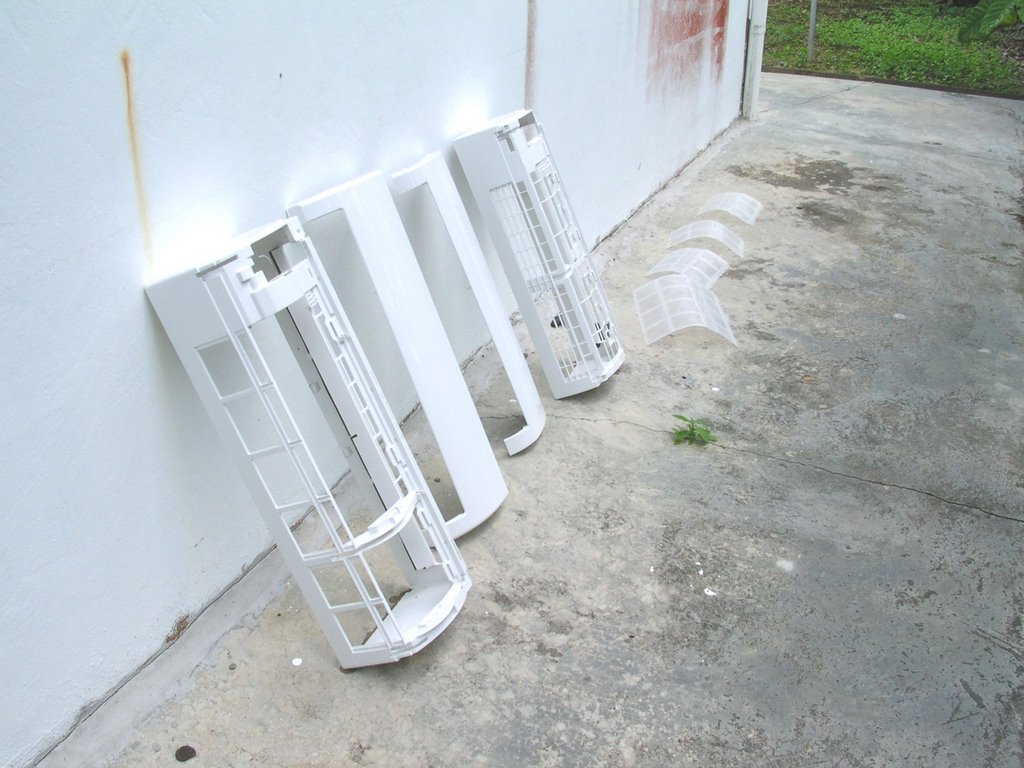
Almost everyone have one or two air-con at home nowadays as it is now very cheap to buy an air-con. It is cheap to buy but the running cost depend on the brand and the air-con condition. Dirty ac is not efficient hence ur electricity bill will go up, ur ac will work extra hard 2 keep u cool in the long run increase the noise level of ac and workload of ac part. The following is mine own diy way of cleaning ac. This is one way to save monies & most importantly u can be sure that ur air-con are really clean.


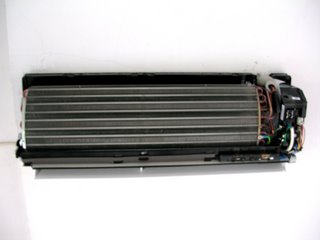
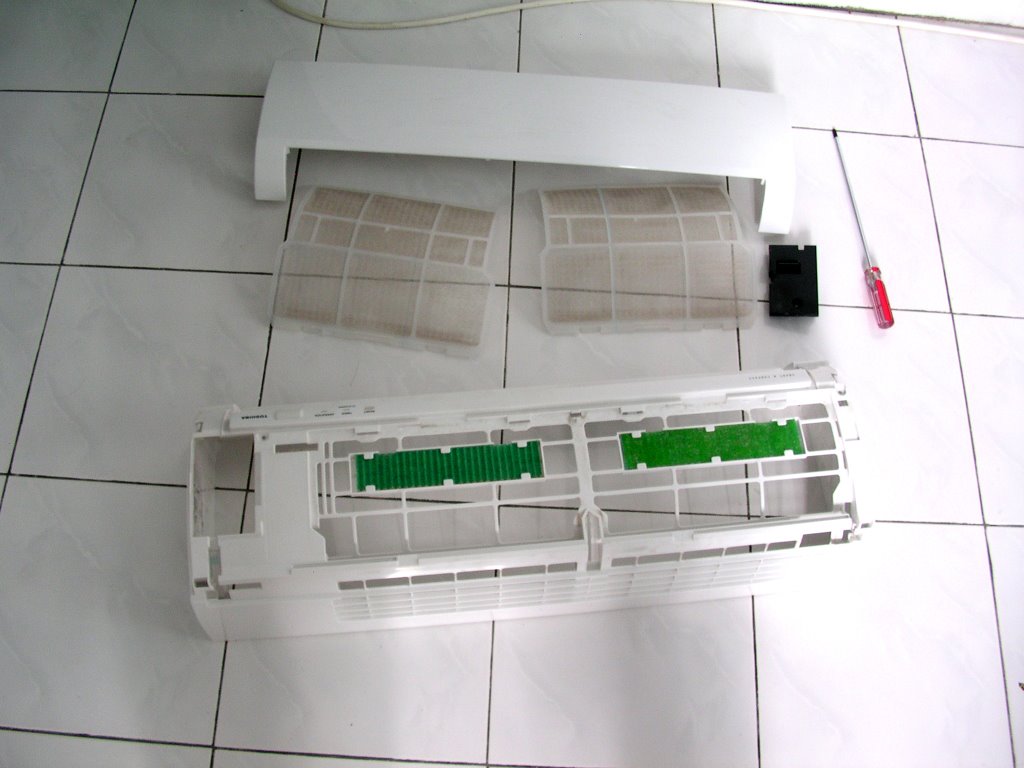
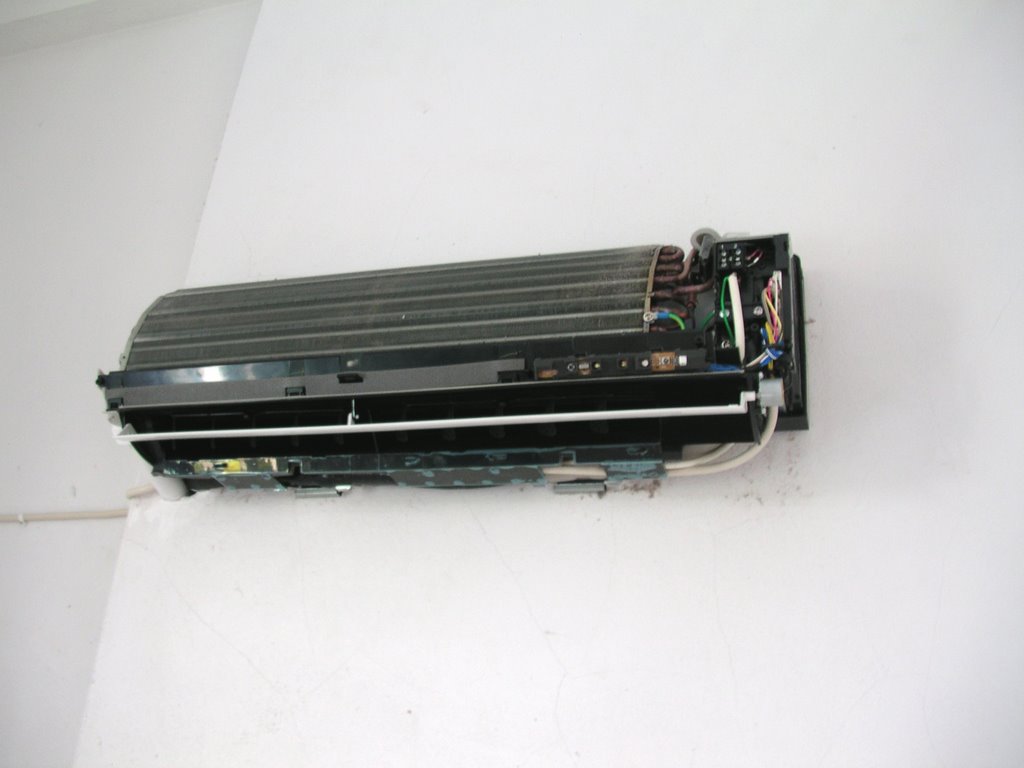
1. Take off the ac cover thus exposing the inner part especially the cooling fin.


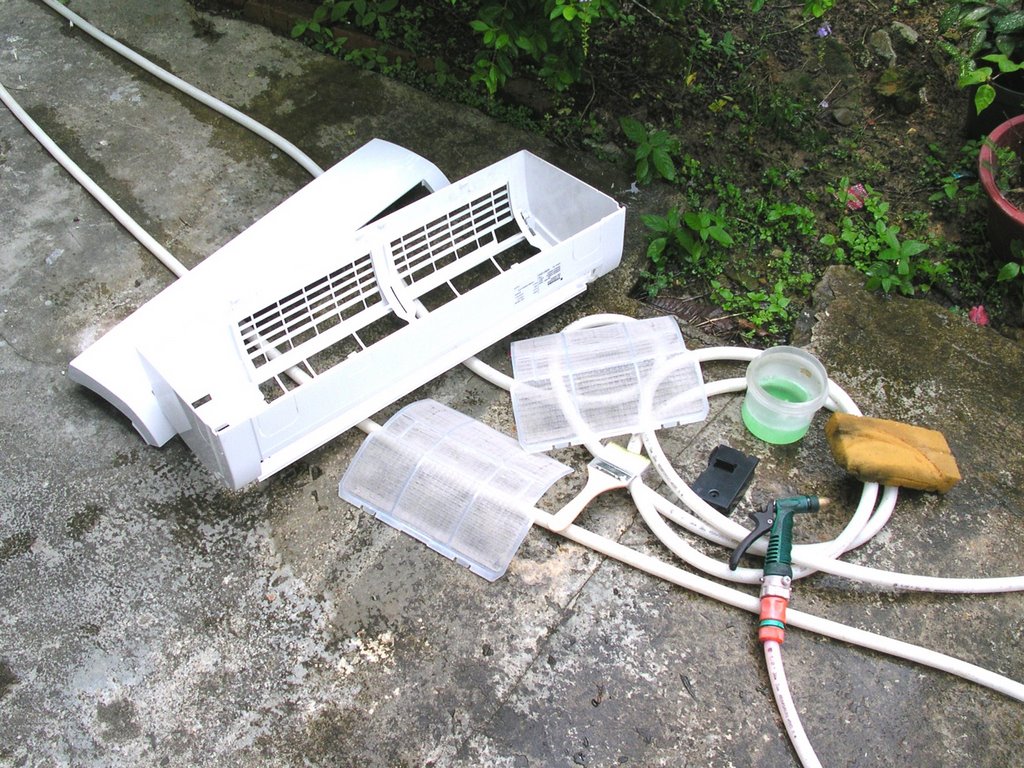
2.Cover up the ac electrical part with plastic bag. After that use water 2 hose down the cooling fin with water, made sure the water pressure is no high or else u will flatten the cooling fins. Use dishes cleaner or liquid soap 2 clean the cooling fin using soft brush, I use the largest water color brush to applied on the cooling fins then hose clean with water. Of course the water will flow onto the floor so I have rectangle container below the ac.


3.Clean the ac cover & filter & left it out 2 dry.


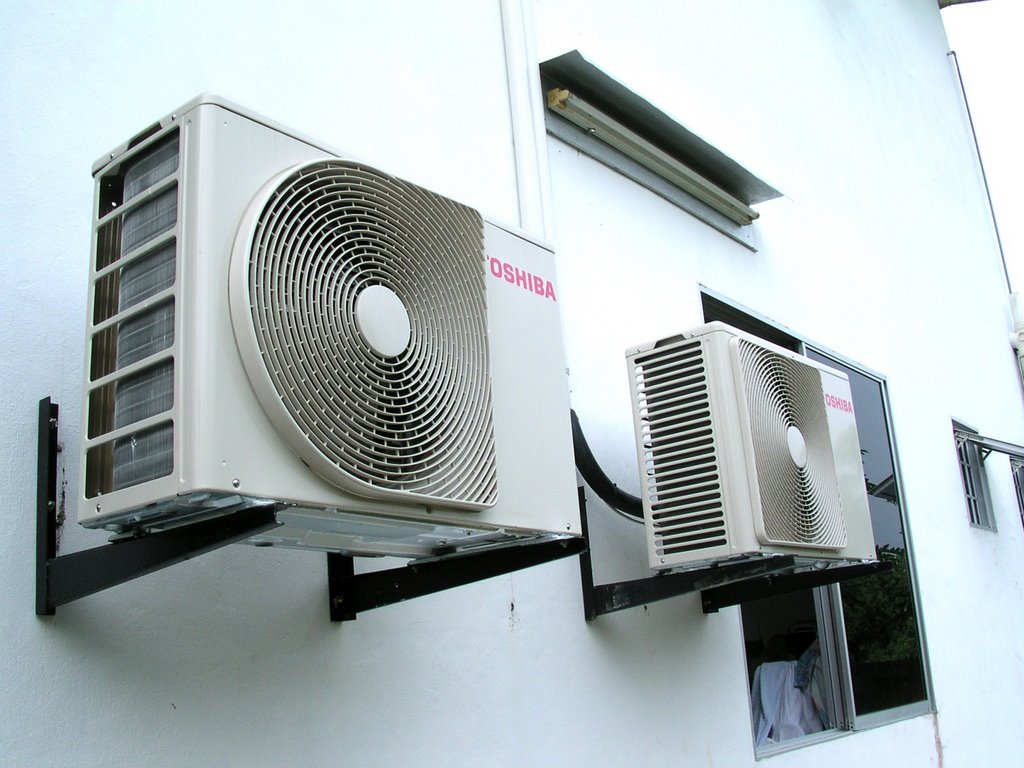
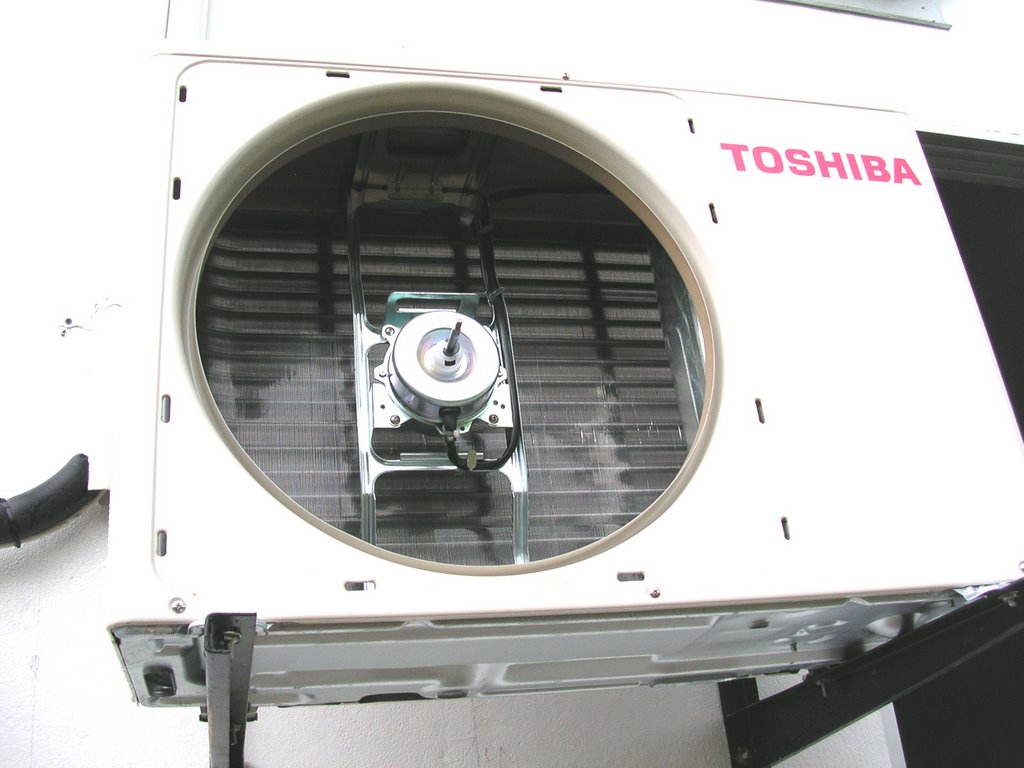
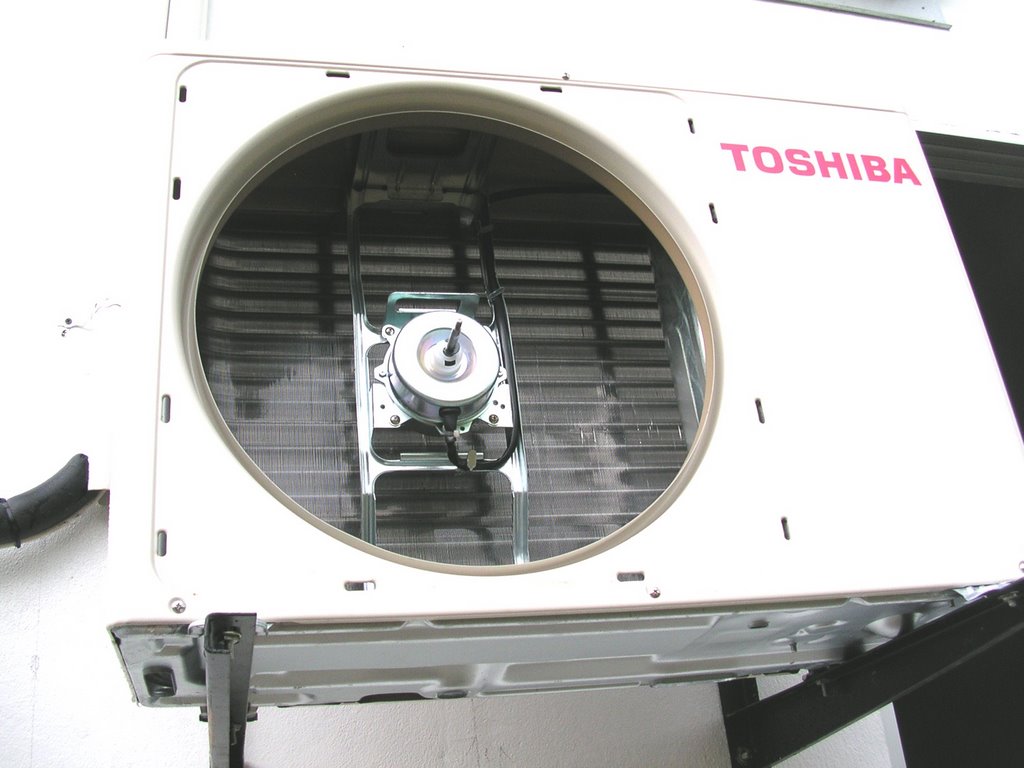
4.Now for ac outside units take off the covering & the fan exposing the evaporating fin. Hose clean with water first inside out then from behind the ac units.Clean the covering & fan.


After all the above u just reassembler back every thing. U will fine ur ac now cooler & not so noisy. I basically do the above every 3 months. I clean the air filter every 2 weeks.

Kindly noted that u can do the above if ur air-con outside unit is located in a accessible location. In my case I have purposely installed my air-con outside unite just 7 feet above ground level. Hence cleaning air-con outside unite is a easy job. He! He! But installing air-con outside in this low position invited thief to steal ur air-con outside unit ( Oh! Yes there have being cases of thief stealing air-con! ).

If u lived in an apartment or condominium please leave the cleaning of the air-con cleaning to professional! Well to all my dear readers that is one way to save some monies. Oh BTW I shall NOT be responsible for any 'accident' if u do try out the DIY! He! He!